If you need to replace the plastic or rubber handles on tools Plasti Dip is perfect for the job. It’s not just the obvious things like screwdrivers and hammers that need their handles replacing, sometimes the tools in our kitchen also need repair.
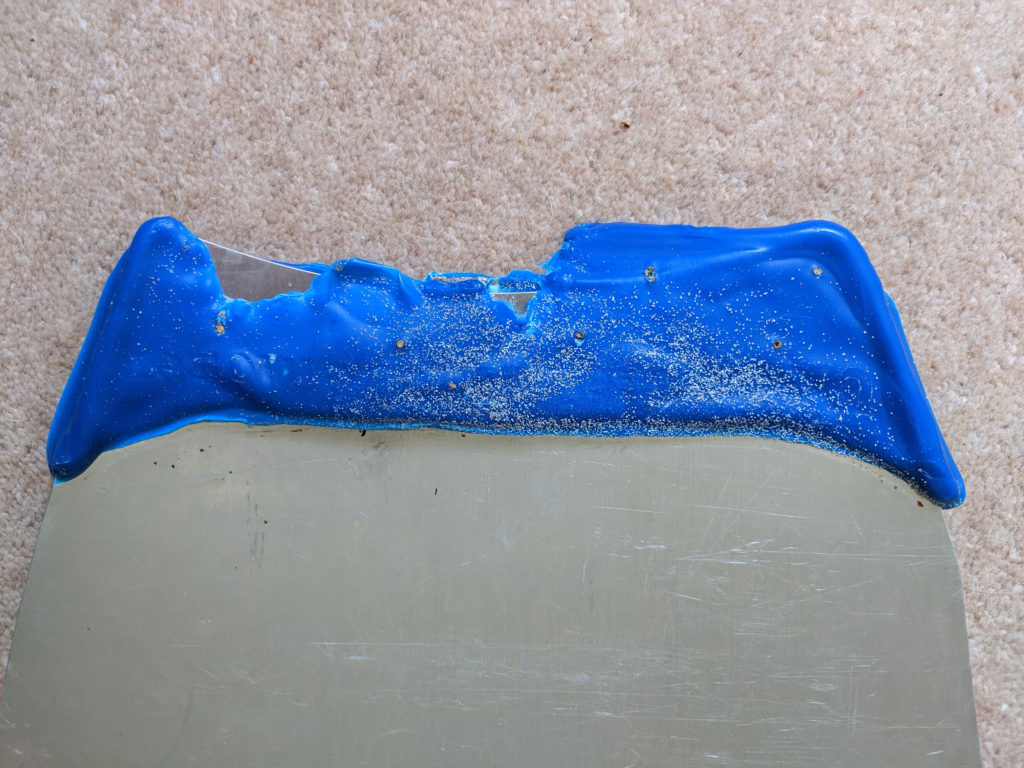
Our pizza peel got left in the oven recently after we used it to put a loaf of bread in yo bake. This is what it looked like by the time we realised….
Fortunately this is an easy repair job for Plasti Dip, so in this blog post we talk you through the steps we took to make it good…
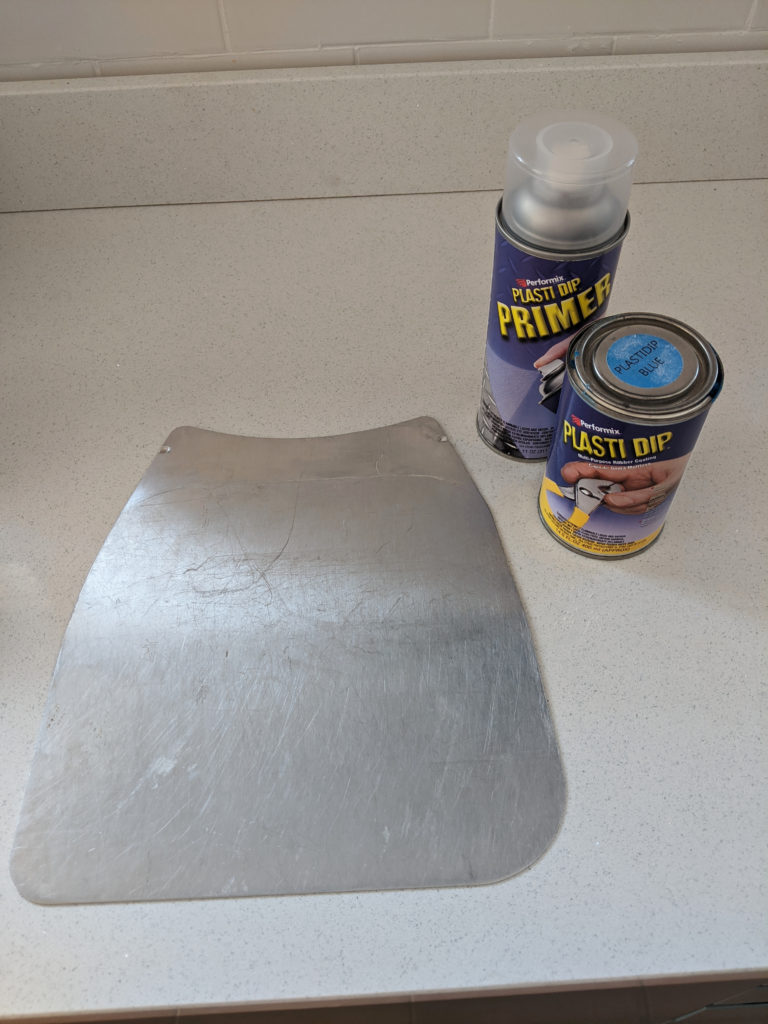
(1) The first step was to remove the melted plastic. This was really easy as the heat had made it brittle so we placed a screwdriver under the plastic and it snapped off in several pieces to leave the clean stainless steel base.
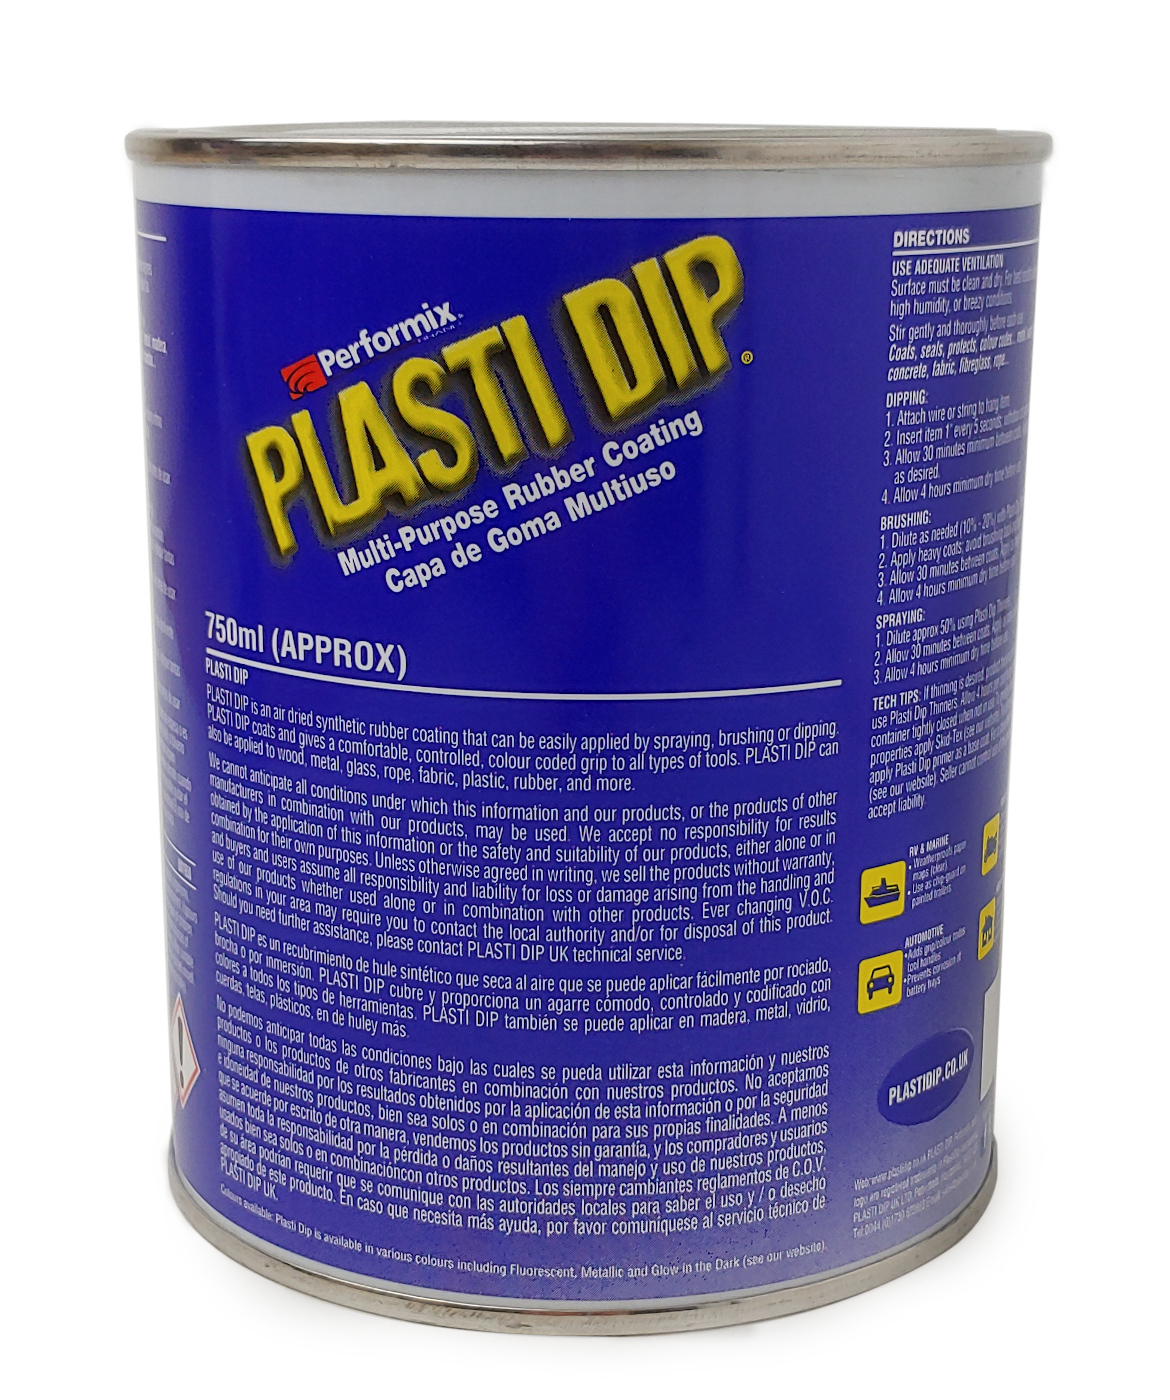
If you are applying Plasti Dip to a non-porous surface and want it to be permanent you need to use primer. Our Plasti Dip Primer is an air dried, acrylic primer specifically developed to increase adhesion to surfaces by up to 400%. Plasti Dip and its primer comes in a both a tin and an aerosol. We chose to use a spray primer and a tin of Plasti Dip coating, but the choice is entirely yours
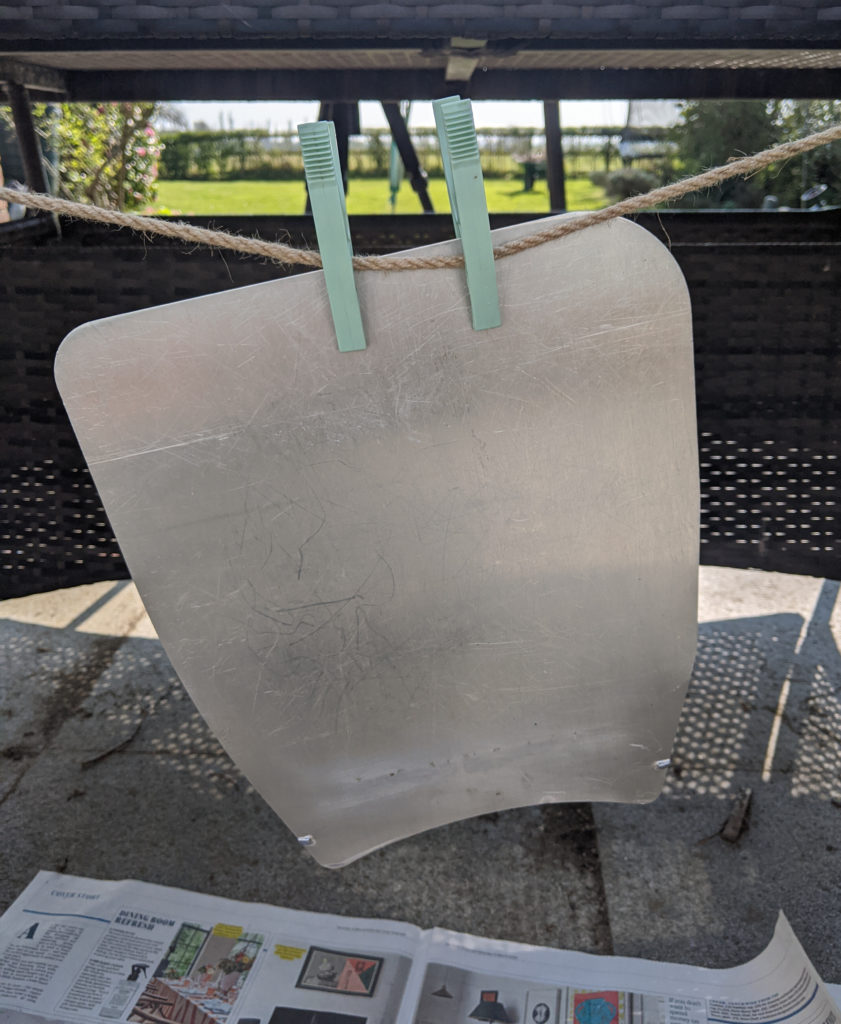
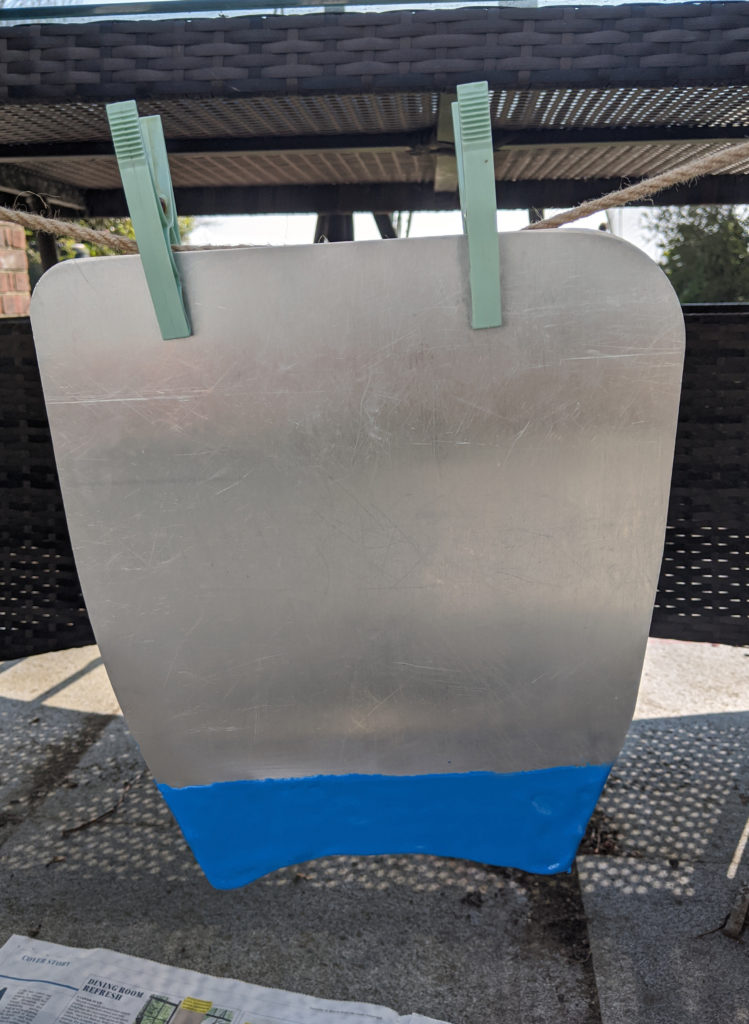
(2) We sprayed the handle area of the peel with primer on both sides and then hung it to dry from a thick piece of string hung between two garden chairs. We also placed newspaper on the floor to catch any drips just in case. We left it to dry
(3) After the primer dried we then poured the blue Plasti Dip from a tin into an old washing up bowl and tipped it to one side allowing us a shallow and wide area to dip the pizza peel handle. Bear in mind you could also mask off the area of the peel you didn’t want covered an apply with an aerosol if you wish, but we felt the curved edge of the original peel handle best suited the dipped style of application.
(4) We then hung it back up to dry on the line again.
(5) Plasti Dip is touch dry for a second coat (if you need it) after 30 minutes, but needs to be left 4 hours to cure after the final coat.
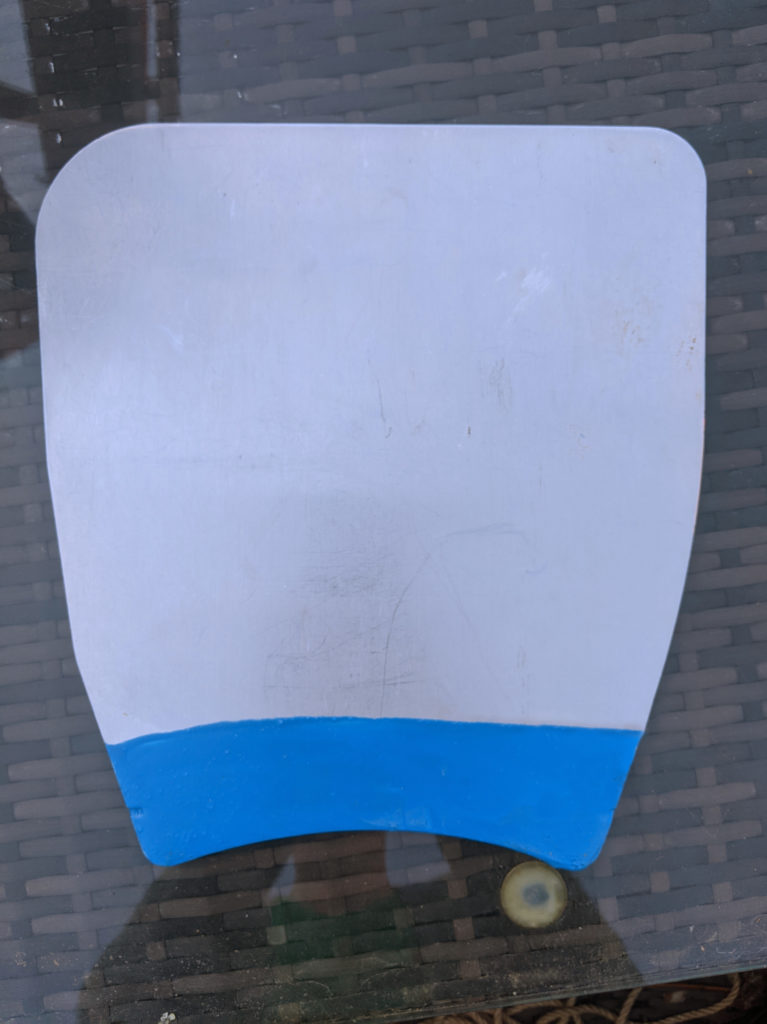
Here’s the finished result….

